As a wanderer and nature enthusiast, I couldn’t resist the allure of a 100-watt portable solar panel, promising easy power on my adventures. With excitement and curiosity, I embarked on the setup journey. To my delight, unfolding and positioning the panel under the sun was a breeze. Its user-friendly design, adjustable angles, and convenient connectors made me feel like a solar pro in minutes. Let me share the enchanting simplicity of this setup process, illuminating your path to sun-kissed travels with ease.
Tips To Set Up a 100-Watt Portable Panel
A portable watt panel typically refers to a solar panel with a power rating of one watt. It is a small, compact solar panel that is easily portable and convenient for various applications. Despite its lower power output than larger solar panels, a one-watt portable panel can still serve valuable purposes, such as charging small electronic devices like smartphones, cameras, and GPS units or powering small LED lights.
Setting up 100w portable solar panels is straightforward. The design of these panels is specifically geared towards simplicity and user-friendliness. Here’s a general overview of the steps involved in setting up a 100-watt portable solar panel:
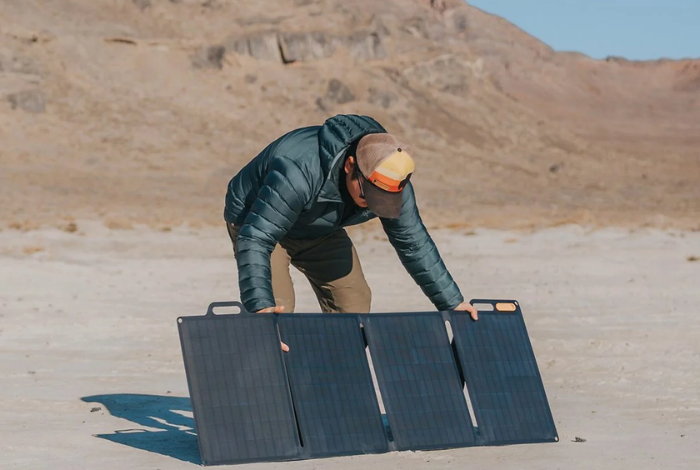
Unfold and Position the Panel:
Most 100-watt portable solar panels have a foldable design for easy transportation. Simply unfold the panel and position it in an area with direct sunlight. Ensure no obstructions may cast shadows on the panel during the day. If the panel has adjustable legs or kickstands, you can easily angle it towards the sun for optimal sunlight exposure. This step maximizes energy absorption and enhances the panel’s efficiency.
Connect the Cables:
The solar panel will have cables with connectors, usually equipped with Anderson connectors, MC4 connectors, or similar types. Connect one cable end directly to the panel’s output terminal and the other to the charge controller or your devices or battery. If you are charging a battery with a solar panel, using a solar charge controller in between is recommended to regulate and protect the battery from overcharging.
Monitor Charging:
You can monitor the charging process once everything is set up. If you are using a charge controller, it may have an LCD or LED indicator showing the charging status. If not, you can monitor the charging by checking the voltage or current delivered to your devices or battery. When you’re done using the solar panel, simply disconnect the cables, fold them back into their portable form, and store them safely for your next adventure.
While the specific setup process may vary slightly depending on the brand and model of the 100-watt portable solar panel you have, the overall process is user-friendly and can usually be completed within minutes. Most panels come with user manuals that provide detailed instructions, making the setup even more accessible for users of all experience levels. With its ease of setup, a 100-watt portable solar panel is a convenient and reliable power solution for anyone seeking to harness the benefits of solar energy during their travels.
Conclusion
Setting up a 100-watt portable panel is an effortless and gratifying experience for adventurers and eco-conscious travelers. With its user-friendly design, adjustable angles, and simple connectors, embracing solar power becomes a joyous journey. Within minutes, you can position the panel to capture the sun’s rays and power your devices or charge batteries sustainably. This empowering setup process illuminates the path to a greener, more self-sufficient future, allowing you to bask in the radiance of solar-enhanced travels easily.